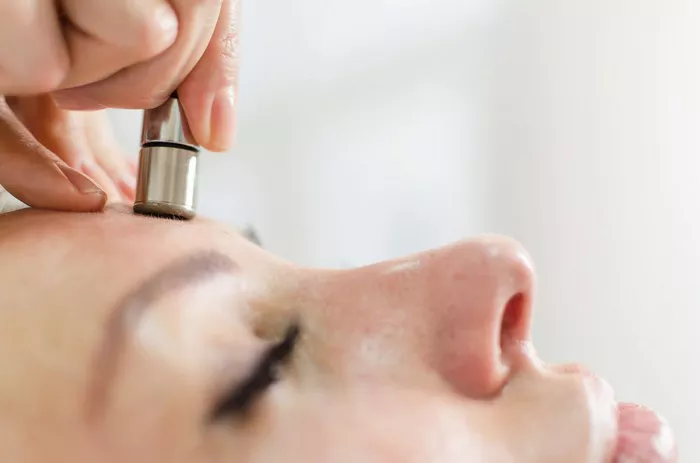
Microdermabrasion is a popular cosmetic procedure known for its ability to exfoliate the skin, reduce fine lines, and improve overall skin texture. While professional microdermabrasion treatments are effective, they can be costly and require multiple visits to a skincare clinic. Fortunately, you can achieve similar benefits by performing microdermabrasion at home without the need for expensive machines. In this comprehensive guide, we will walk you through the steps and techniques for safe and effective DIY microdermabrasion.
What is Microdermabrasion?
Microdermabrasion is a non-invasive exfoliation technique that removes the outermost layer of dead skin cells, revealing fresher, smoother skin underneath. It is often used to treat various skin concerns, including fine lines, acne scars, uneven skin tone, and clogged pores. Traditional microdermabrasion involves a machine that sprays fine crystals onto the skin and vacuums them away, but you can achieve similar results with gentler methods at home.
Step-by-Step Guide to DIY Microdermabrasion at Home
Follow these steps to perform microdermabrasion at home without a machine:
Step 1: Gather Your Supplies
Before you begin, gather the following supplies:
- Mild facial cleanser
- Exfoliating scrub (preferably with fine, round particles)
- Warm water
- Towel
- Face mask (optional)
- Moisturizer
- Sunscreen (essential for sun protection post-treatment)
Step 2: Cleanse Your Face
Start by washing your face with a gentle facial cleanser to remove any makeup, dirt, or impurities. Pat your skin dry with a clean towel.
Step 3: Steam Your Face (Optional)
For a more effective microdermabrasion experience, you can create a steam bath for your face. Boil water and pour it into a bowl. Hold your face over the steam, keeping a safe distance to avoid burns, for about 5-10 minutes. Steam helps open up pores and soften the skin, making it more receptive to exfoliation.
Step 4: Exfoliate
Apply the exfoliating scrub to your damp skin. Use gentle, circular motions to massage the scrub over your face. Focus on areas with concerns like fine lines or uneven texture, but be cautious not to scrub too aggressively, especially around the delicate eye area. Limit exfoliation to 2-3 minutes to prevent over-exfoliation, which can irritate the skin.
Step 5: Rinse Thoroughly
After exfoliating, rinse your face thoroughly with warm water. Ensure that all scrub particles are removed from your skin.
Step 6: Apply a Face Mask (Optional)
If desired, apply a hydrating or soothing face mask appropriate for your skin type. Leave it on for the recommended duration, typically 10-15 minutes. This step can add an extra layer of pampering and nourishment to your skin.
Step 7: Moisturize and Protect
Once you’ve rinsed off the mask (if used), apply a moisturizer to your skin. This helps lock in hydration and soothe any potential post-exfoliation redness. Don’t forget to apply sunscreen with at least SPF 30 if you perform microdermabrasion during the day, as your skin will be more sensitive to UV rays.
Step 8: Post-Treatment Care
In the days following your DIY microdermabrasion, avoid harsh skincare products, including retinoids and acids, and skip any additional exfoliation to prevent over-stressing the skin. Maintain a gentle skincare routine and moisturize regularly.
Frequency of DIY Microdermabrasion
Performing microdermabrasion at home without a machine can be done once a week for most skin types. However, sensitive skin may benefit from a bi-weekly or even monthly schedule to avoid irritation.
Conclusion
DIY microdermabrasion at home without a machine can be a cost-effective and convenient way to improve your skin’s texture and appearance. By following these steps and practicing caution, you can achieve smoother, more radiant skin without the need for expensive equipment. Remember to be gentle and consistent with your skincare routine to maintain the benefits of microdermabrasion over time.


